1. Double-click on the gold lock (the Network Identify Manager) in the Windows systray, located in the lower right corner of your desktop. Click "Credential" and choose "Obtain New Credentials." You will have a choice in the Realm field, choose "ANDREW.CMU.EDU", then enter your Andrew password in the third field, and click Ok.
2. In the Network Identity Manager, click on "Options" and choose "Identities." A Network Identity Manager Configuration window will open.
3. In the Network Identity Manager Configuration window, in the left-hand pane, under Network Identity Manager > Identities choose your Andrew identity (e.g., dwinters@ANDREW.CMU.EDU). Do NOT choose the dwinters@ANDREW.AD.CMU.EDU option.
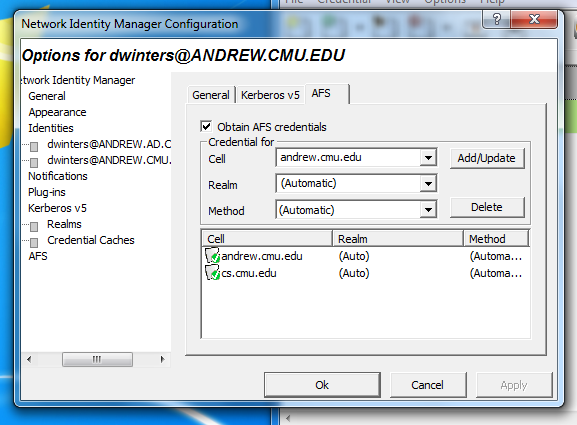
4. In the right-hand pane choose the "AFS" tab. If the andrew.cmu.edu cell does not have an entry in lower half of the right-hand pane, make sure the "Cell" field reads "andrew.cmu.edu" and click Add/Update.
5. Edit the "Cell" field to read "cs.cmu.edu" and click Add/Update (again). The Network Identity Manager Configuration window should look something like this:
6. Click Apply, then OK, to close the Network Identity Manager Configuration window. To obtain the needed cross-realm credentials, in the Network Identity Manger choose Credential > Obtain New Credentials again. Again, make sure the Realm field reads "ANDREW.CMU.EDU".
Right-click on the Desktop and choose New > Shortcut. As the item location for the Shortcut type,
\\afs\cs.cmu.edu\academic\class\15465-s14-users\yourusername
You can name the shortcut as you like, for example "465-s14-yourusername". Creating this shortcut will only need to be done once.